Greenscreen Guerilla Style Lighting

Guest Post: Luis offered to share his knowledge on creation of videos and a better way to light a green-screen. Thanks to his willingness to share his knowledge, Luis offered to write a guest posts for my blog.
Here is a more advanced and complete tutorial on how to use proper lighting for a video for GreenScreen! ^Raúl
Following up the blog post “Basic Greenscreen Effect”, in which I commented and made some recomendations on lighting the greenscreen. Being a regular contributor at Videomaker Forums and my years of experience (using trial and error) inspired me to make some recommendations.
Green Screen Effects
I’m honored to share in this post what I learned on how to light a greenscreen a la guerrilla style including a video I made.
Learning to light a greenscreen without a professional lighting kit can be a challenge for any videographer. You need to come up with ingenuous ideas, like using some cardboard and aluminum foil to make a reflector or anything you can find in your house that produces light.
I like to call these ingenious videographers Vidiots because sometimes we (I’m included) use things that are not supposed to be for a particular use. In our minds if we have a lamp that produces usable light then why not use it to light our green screen set.
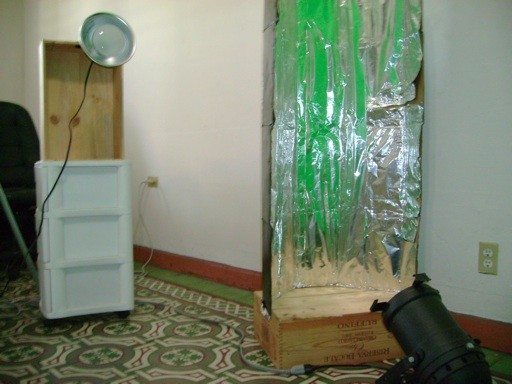

Now that you know what you need to do, let’s look at some guerrilla light alternatives you can use. I bought a 1200 Watts work light from the local hardware store for around $60, three clamp lights for around $8 each and three 120 W indoor flood lights for around $3 each. Since the work light generates so much light from one spot I needed a reflector, which I made with some cardboard and aluminum foil.
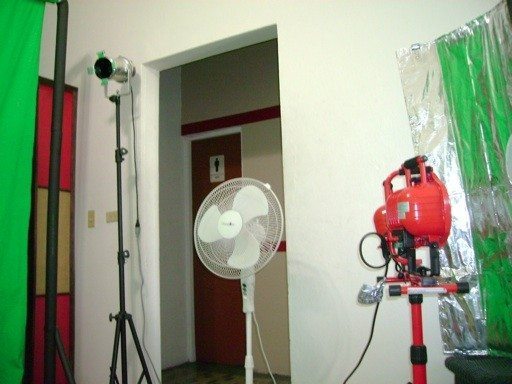
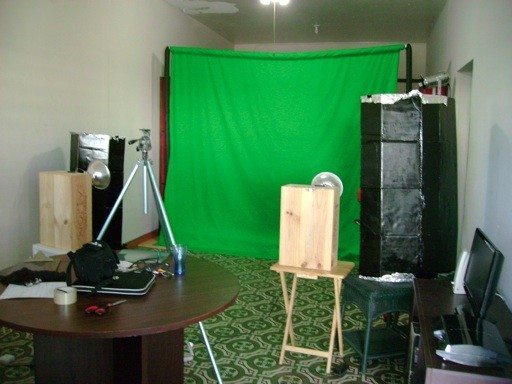
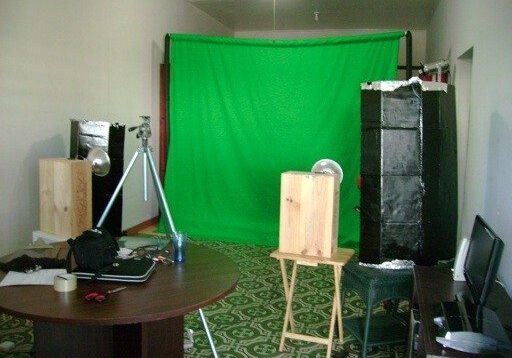
It’s better to have more lights than having a few when it comes to greenscreen. A four light setup is ideal and when you’re doing it a la guerrilla style you can light it without breaking your bank account. Two things you need to be careful with:
1. Connecting your lights and
2. Not getting burned by your lights (especially with the work lights).
Connect your lights to different plugs around your studio (or garage) and always wear gloves when working with the lights. If you light your greenscreen as evenly as possible you will get good results using any type of light. One last thing, if you have a large greenscreen and you are recording a close up shot, you really don’t need to light all of it. Just light the part your camera is capturing and use fewer lights for it.
Enjoy lighting your greenscreen a la guerrilla style.


This post says “HOMEWORK!!!” won’t comment no more, will go shopping for my home-studio 😀 Thanks Raul and Luis!
Agapita, I’m here if you need additional help when purchasing new equipment or with video making. Just comment here again and I will happily help you out the best I can :-).
Luis, thanks for the help. I am a big fan of Agapita and Bianca (her publicist).
I really appreciate the time you took to create this post and sharing your knowledge!
Hi @lomaymi:disqus I bought this super lights you recommended. Then I discovered that with so much lights, my hat is invisible :-/ ……. Back to the question: Well, I am looking for real green muslin but I also was looking for a stand for it. What do you recommend? Is there any budget-friendly stand, or can I create one with PVC, or what?
@PayasaAgapita:disqus your hat will become invisible because the “super lights” (that was funny) generates a lot of light if you point it directly at you. There are two ways to fix this:
1. Make a reflector with cardboard and aluminum foil (like the one I used in the video) and point the light to the reflector.
2. Point the light to a BIG white card which also reflect light.
Adjust until you get even lighting in you and the greenscreen. You should connect your camera to a television via RCA cables (red,yellow and white cables. Or HDMI if your camera has it) to see with more detail how the light looks on the set.
For the greenscreen stand you could DIY with PVC, but it takes a considerable amount of time to make. My first stand was with PVC and although it worked great I spent around $70 in materials (it was 8 feet tall and 10 feet wide). I recommend to check if you can hang one tube (can be PVC or metal) from one corner to another in your studio. It will be like the wardrobe tube, but with the greenscreen on it. This technique works more effectively if you have two walls close together.
As for the muslin greenscreen you can buy it on Ebay (for around $40) or buy a complete set from specialized stores like Tube Tape. If you have the budget I strongly recommend buying the greenscreen and stand set together because it will save you time and money in the long run.
If you still have questions feel free to post them again 🙂